Disclaimer:
The information on this website is for general guidance only and does not constitute financial or investment advice. Always do your own research and seek personalised advice from a qualified financial adviser or mortgage adviser before making financial decisions.
Key Takeaways
- An energy audit reveals where your home loses heat and wastes electricity.
- Ceiling insulation and draught-stopping are typically the highest-impact improvements.
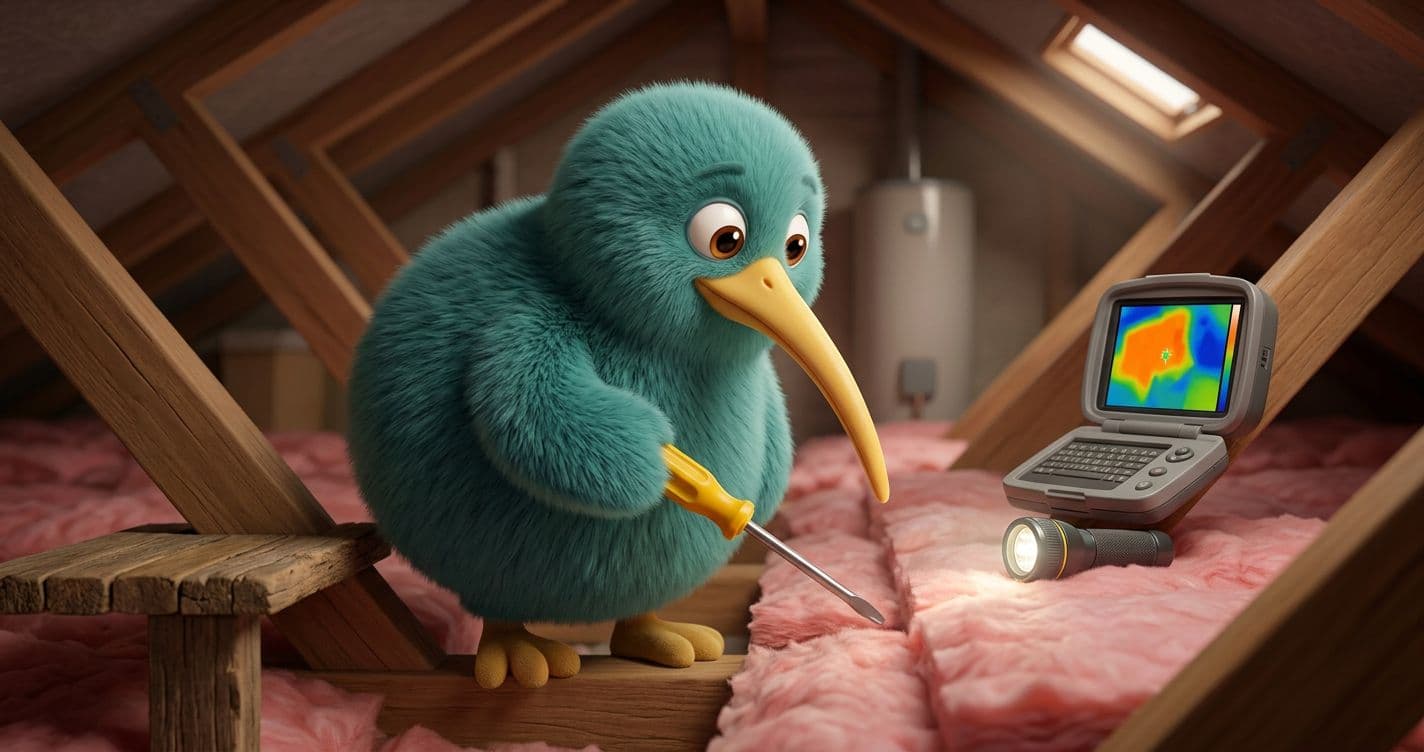
- Professional assessments with thermal imaging identify hidden problems DIY checks miss.
- Prioritise improvements by cost-effectiveness, not just total savings potential.
- Regular audits help track progress and identify new opportunities as circumstances change.
You cannot improve what you do not measure. An energy audit is the first step toward a warmer, healthier, more efficient home.
Many New Zealand homeowners know their power bills are higher than they should be, but they do not know where to start making improvements. An energy audit provides clarity. It identifies where your home is losing heat, which appliances are consuming the most power, and which upgrades will deliver the best return on investment.
You can conduct a basic audit yourself using simple techniques and observations. For a more thorough assessment, professional energy auditors use specialised equipment like thermal imaging cameras to reveal hidden heat loss. Either approach will give you valuable insights to guide your efficiency improvements.
Starting with Your Power Bills
Before inspecting your home, review your electricity bills from the past year. Look for patterns in your consumption. Do your bills spike in winter? How does your usage compare to similar households? Most electricity retailers provide usage data and comparisons online.
- What is your average daily consumption in summer versus winter?
- Has your usage increased significantly over recent years?
- Are you on the best plan and tariff for your usage pattern?
- Do you have any appliances on continuous high consumption?
Understanding your baseline consumption helps you measure the impact of any improvements you make. It also highlights obvious anomalies worth investigating.
Checking Insulation
Insulation is the foundation of an energy-efficient home. Heat rises, making ceiling insulation particularly important. In an uninsulated home, up to 35% of heat loss occurs through the ceiling.
If you can access your roof space safely, check what insulation is present. Look at the depth and condition. Old insulation may have settled, compressed, or been disturbed by electrical or plumbing work, leaving gaps. The current Building Code minimum for new builds requires ceiling insulation of at least R6.6 (updated in May 2023), but many older homes have far less.
Underfloor insulation is harder to inspect but equally important for homes with suspended timber floors. If your floor feels cold even when the heating is on, inadequate underfloor insulation is a likely culprit. Professional assessors can check this safely and advise on current condition.
Wall insulation is the most difficult to assess without invasive testing. If your home was built before 1978, it probably has no wall insulation. Homes built in the 1980s and 1990s may have some insulation, but often less than current standards require. Thermal imaging is the most practical way to evaluate wall insulation without removing cladding or linings.
Finding Draughts and Air Leaks
Draughts are one of the easiest problems to identify and among the cheapest to fix. On a cold, windy day, walk through your home and feel for air movement around windows, doors, and other openings.
- Around window and door frames
- Under external doors
- Through unused fireplaces and flues
- Around pet doors
- Through gaps in floorboards
- Around pipes and cables penetrating walls
- Through exhaust fans and rangehoods
A simple test is to hold a lit incense stick or candle near suspected leak points. If the smoke wavers or the flame flickers, you have found an air leak. Mark these spots for treatment with appropriate draught-stopping products.
Assessing Windows and Glazing
Windows are the weakest point in most homes' thermal envelope. Single-glazed windows, standard in homes built before the 2000s, have R-values around 0.15, which is dramatically lower than even minimal wall insulation.
Double glazing significantly improves performance, with R-values around 0.3 to 0.4 for standard units. Thermally broken frames and low-E coatings push this higher. If your home has single glazing, upgrading to double-glazed units is one of the most impactful improvements you can make, though also one of the most expensive.
Short of full replacement, secondary glazing systems can improve single-glazed windows at lower cost. Heavy curtains with pelmets also help, provided they are properly fitted and closed at night.
Evaluating Heating Systems
How you heat your home affects both your comfort and your power bills. Different heating systems vary enormously in their efficiency and running costs.
Need personalised guidance?
Chat with a Homeowners Club affiliated mortgage adviser, conveyancer, insurance adviser, or builder — no obligation.
Have a question about this?
Post it in the Homeowners Club forum — get answers from the community and industry professionals.
Heat pumps are generally the most efficient option, producing three to four units of heat for every unit of electricity consumed. Modern inverter units maintain stable temperatures efficiently. Older non-inverter units or those sized incorrectly for the space will perform less well.
Electric heaters (fan, oil column, panel) produce one unit of heat for every unit of electricity, making them less efficient than heat pumps. They are suitable for occasional use but expensive as primary heating.
Wood burners can be economical if you have access to cheap or free firewood, though efficiency varies greatly between models. Modern low-emission burners are far more efficient than older units.
Clean heat pump filters monthly during heating season for optimal performance. Ensure heaters are correctly sized for the room; an undersized unit will run constantly without adequately heating the space, while an oversized unit cycles inefficiently.
Checking Hot Water
Hot water typically accounts for 25% to 30% of household energy use. Assess your hot water system's efficiency as part of your audit.
If you have an electric hot water cylinder, check the thermostat setting. For most households, 60°C is sufficient and safer than higher temperatures that risk scalding. Wrapping your cylinder in an insulation blanket can reduce standing heat losses, particularly for older or poorly insulated units.
Hot water heat pumps are two to three times more efficient than conventional electric elements and worth considering if your cylinder needs replacement. Solar hot water systems can also provide significant savings, particularly in sunnier regions.
Auditing Appliances and Lighting
Walk through your home and list your major appliances. Note their age and energy rating if visible. Older refrigerators, freezers, and dryers are often significant energy consumers. An old fridge running in the garage can easily cost $150 to $200 per year to operate.
Check for standby power consumption. Devices left on standby can collectively add $100 or more to annual power bills. Smart power strips and simple habits like switching off at the wall can eliminate this waste.
Lighting is another area worth examining. LED bulbs use roughly 80% less energy than incandescent bulbs and last far longer. If you still have incandescent or halogen bulbs, replacing them with LEDs is one of the simplest and most cost-effective efficiency improvements.
Professional Energy Assessments
While a DIY audit provides valuable insights, a professional assessment goes deeper. Certified home energy assessors use thermal imaging cameras to reveal heat loss invisible to the naked eye. They can identify insulation gaps, thermal bridging, and moisture problems you would otherwise miss.
A professional report typically includes a prioritised list of recommended improvements with estimated costs and savings. This takes the guesswork out of deciding where to invest your money for maximum impact.
Prioritising Improvements
Once you have completed your audit, prioritise improvements based on cost-effectiveness rather than total savings. Draught-stopping might save less than double glazing in absolute terms, but it costs a fraction of the price and delivers a far faster payback.
A typical priority order for New Zealand homes is ceiling insulation, then draught-stopping, underfloor insulation, efficient heating, hot water improvements, and finally window upgrades. Your specific situation may vary depending on what has already been done and your home's particular characteristics.
An energy audit is not a one-time exercise. As you make improvements, your next priorities change. Revisiting your assessment periodically ensures you continue to identify opportunities and track your progress toward a more efficient home.
Useful New Zealand homeowner resources
For the most accurate current rules, check official New Zealand sources as well as this guide. These links help verify lending settings, budgeting assumptions, building requirements, and property-risk information.
Official and independent sources
Related property ecosystem guides
- First Home Buyers Club
Guides, calculators, and adviser support for buying your first home in New Zealand.
- Property Investors Club
Rental property, cashflow, tax, lending, and portfolio-growth resources for NZ investors.
Frequently Asked Questions
Related Articles

Insulation Types: Which Is Best for Your New Zealand Home?
Compare insulation types for NZ homes including fibreglass, polyester, wool, and polystyrene. Learn R-values, costs, and which insulation su

Government Grants for Home Improvements in NZ
Discover government grants and subsidies for NZ homeowners. Learn about Warmer Kiwi Homes, insulation grants, heating assistance, and other
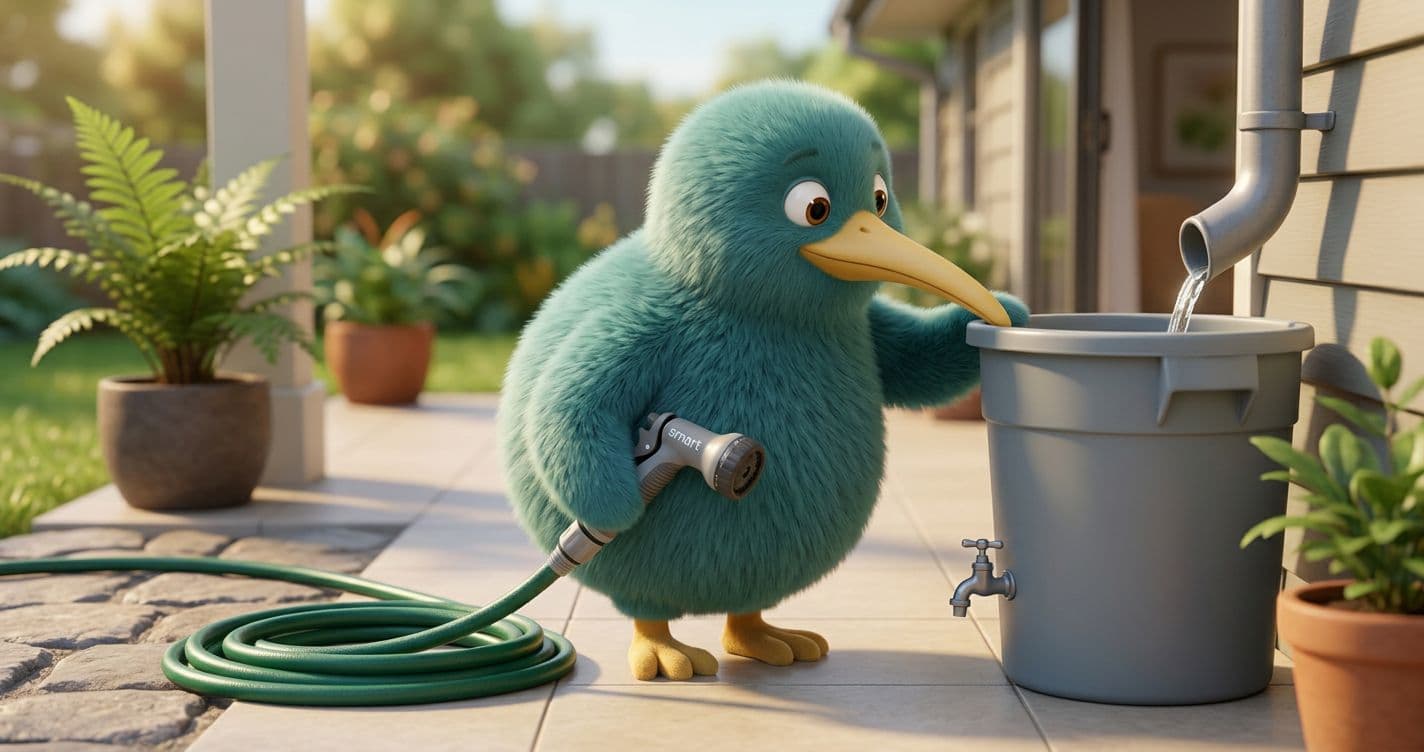
Reducing Water Usage in Your Home
Practical tips for NZ homeowners to reduce water consumption. Learn about efficient fixtures, rainwater harvesting, greywater systems, and s
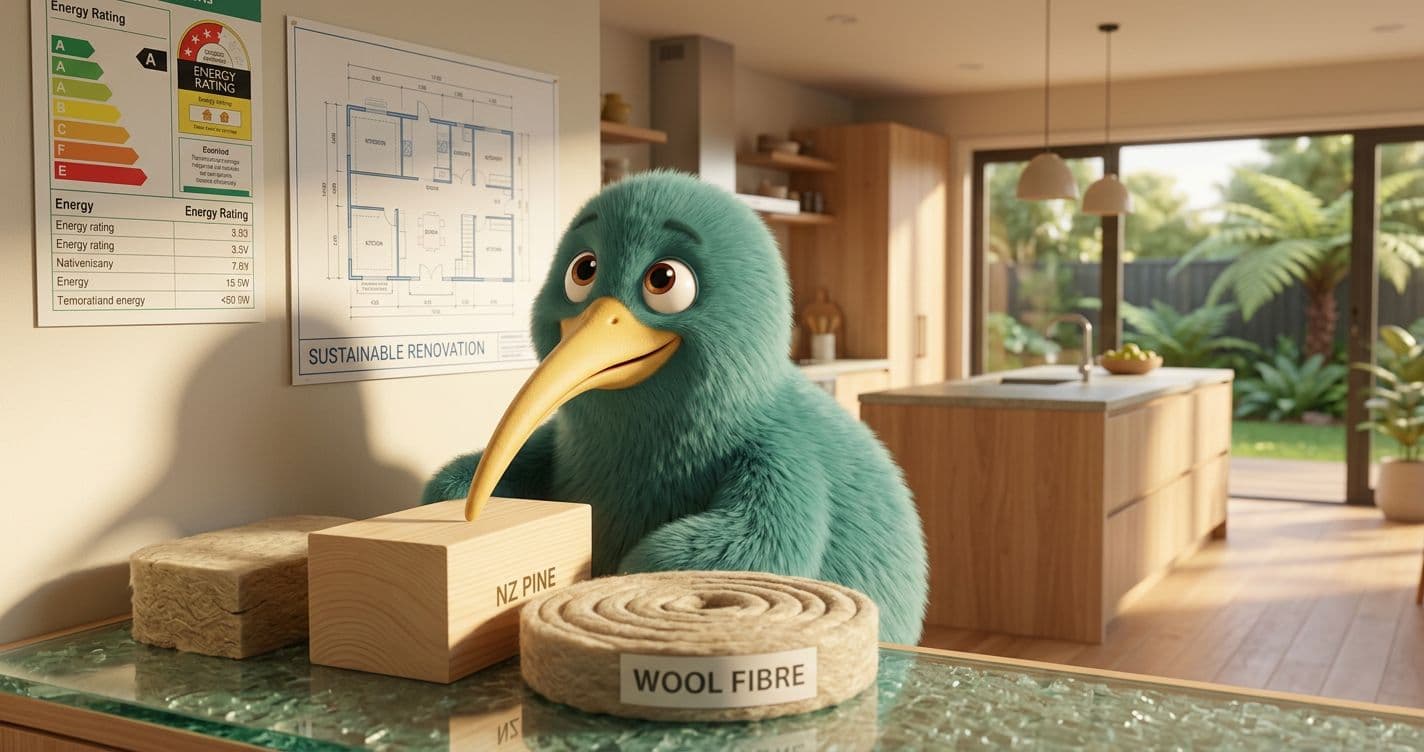
Sustainable Building Materials for Renovations
Discover sustainable and eco-friendly building materials for your NZ home renovation. Learn about recycled timber, low-VOC paints, natural i